


|
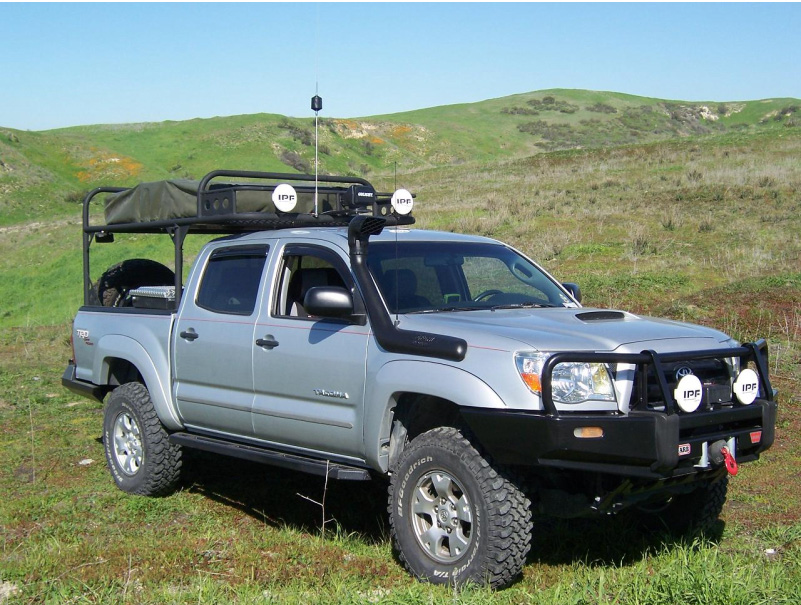
Safari Snorkel SS135HFD
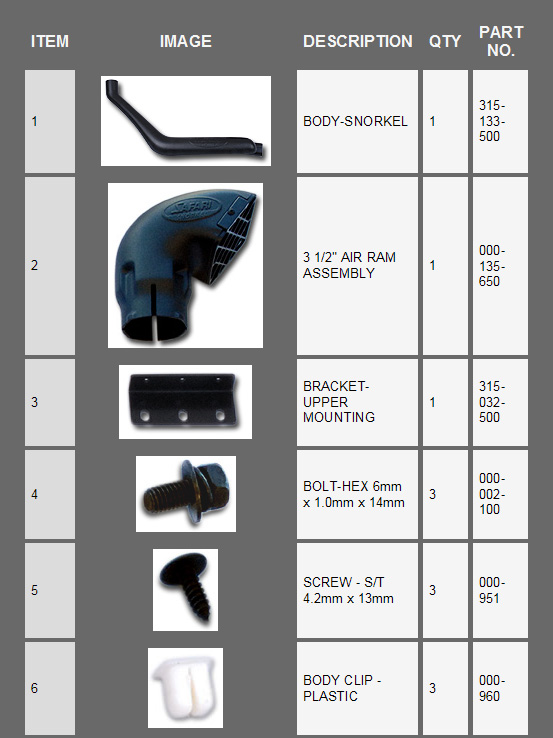   *KIT NOW INCLUDES A TEMPLATE SPECIFIC TO THE '05-'10 TEMPLATE - A CRUISER OUTFITTERS EXCLUSIVE
3 foot section of 3 inch
Exhaust Pipe (1) NOTE: These
parts are all available at your
hardware store or auto shop.The exhaust tubing will require bends for proper installation. Keep in mind you can easily drive the truck (after mounting the snorkel) to an exhaust shop, they can easily bend the tube to fit your install. Fitment
To: Passenger Side Fender
/ A-Pillar Fitting
Time: 6-8 Hours (Depending
on Skill
Level, Tools, etc.) - Update: With the custom template now included in all SS135MOD kits, install time has been reduced to approximately 4-5 hours, again depending on skill level, tools, etc. We plan on 4 hours here in the shop.
Special
Tools:
Prior to commencing the installation, it
is the
Installer's responsibility to verify that all components and
particularly the
template placement (Item 14) are correct! Ensure you have all parts and tools
accounted for
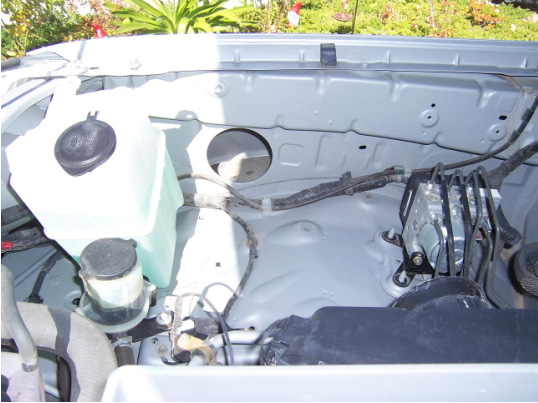
before you begin work! STEP
1: Open hood. Remove the OEM air
intake duct from inner
fender/engine intake using a screwdriver and 10mm socket/ratchet. Leave
intake
air filter in place
 STEP
2:
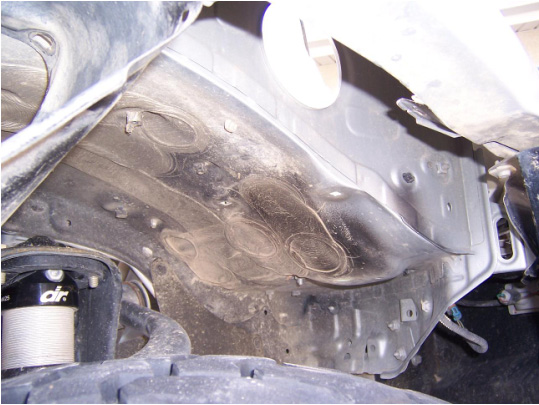
Remove the RHS
inner fender liner and the
engine air intake duct from engine bay in accordance with the factory
service
manual. There are 6
plastic inserts and 2 10mm screws
retaining the fender well liner to the inner fender well and fender
flare. From the inside
of
the engine compartment, remove the plastic inserts carefully using a
flat tip
screwdriver, popping them out toward the tire. Using a 10mm socket,
remove the
screws from the edge of the flare and remove the last 2 plastic clips
hidden
under them. Fold the liner
back out of your way as shown (this will all be re-installed in reverse
order
later).
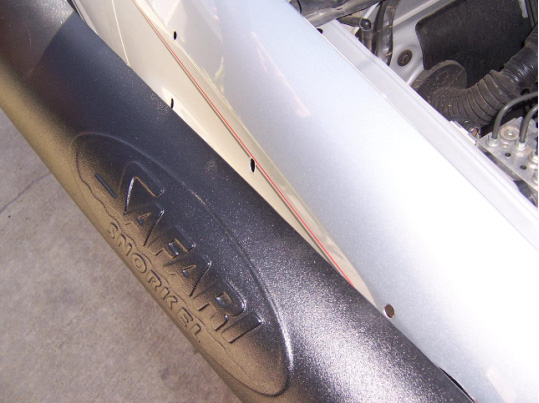
STEP
3:
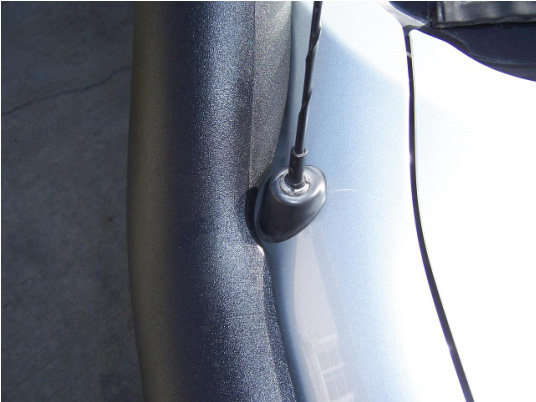
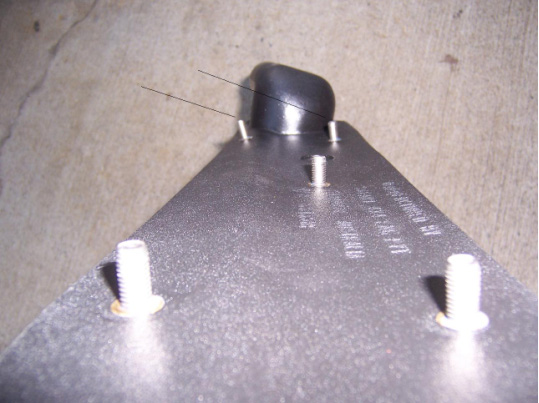
Hold the snorkel up to the fender
where you want the
snorkel to mount, paying special attention to the indentation in the
snorkel
for the antenna.
Attach the studs and then
mark them with paint. CAREFULLY (have a buddy
help out if possible) hold the snorkel back up where you just had it
and
lightly touch the painted studs to the sheet metal. Pay close attention to the
antenna indentation mentioned earlier as well as the rake of the
snorkel at the
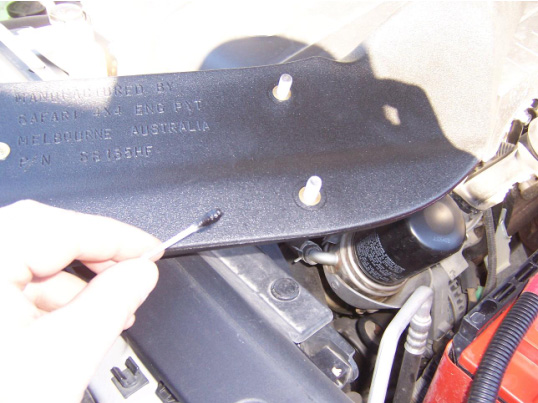
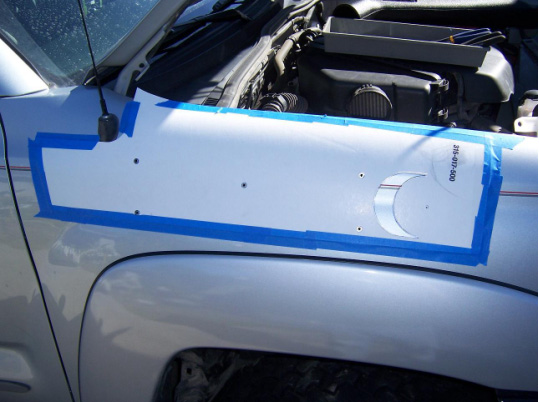
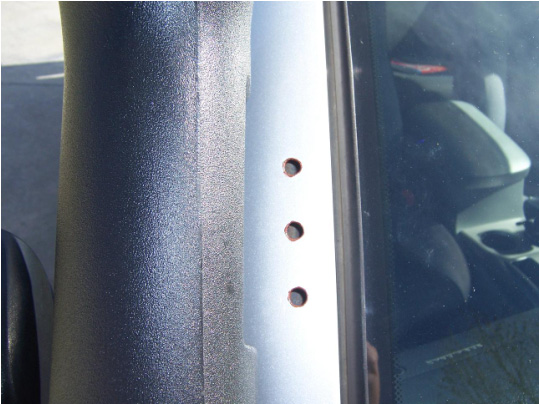
windshield and the level appearance of the snorkel on the fender. Using the stud marks you
have chosen, align your template and firmly tape it on. Mark all holes and cut-outs
with a black marker. This will mark the location
for attaching the template to drill the 5 holes and the use of the 92mm
hole
saw. NOTE: This is all necessary as this template is
cut out to
fit the contours of a HILUX fender and not a TACOMA (see picture for
detail)
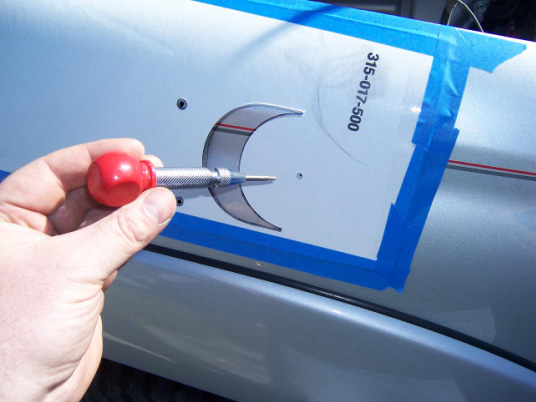
STEP
4: Using a spring loaded
punch, mark the exact location for drilling your 6 pilot holes
STEP
5: Using a small drill bit,
drill pilot holes. Drill the 5 snorkel
mounting stud hole positions to 16mm. Using the 92mm hole saw,
drill the main hole.
Enlarge the main hole as
per template cut away section. Test fit snorkel to fender. Use round file to adjust
any mounting stud holes that are not true for smooth fit (this is not a
cause
for alarm as studs may protrude slightly irregularly). De-burr and paint all
holes. Allow sufficient drying time.
STEP
6: Test fit and trim down the
Hose – Air Entry. It is beneficial to fit
this air entry hose to the entire snorkel body assembly and then do a
test fit
before final install of the snorkel body to the fender. Pay close attention to the
tight fit inside the fender and take your time. I trimmed about 5 inches+
off mine (an inch at a time!) where it mounts to the snorkel inside the
fender.
Trim the oval end, DO NOT trim round end! This is necessary as it is
a tight turn inside the fender for the air entry hose to fit through
the inner
fender well air intake opening. Once you are satisfied with
fit and length, move on to next step. NOTE: Save a 2 inch wide
piece of the air entry hose for use later on the intake.
STEP
7: Carefully mount snorkel to
fender using supplied washers and locking nuts. Start at the front nut and
tighten evenly as you go, using a cross pattern. Install air entry hose on
snorkel inside fender and tighten hose clamp for water tight fit. Re-install inner fender
liner, replacing all plastic inserts and the 2 10mm screws at the
fender
flares.
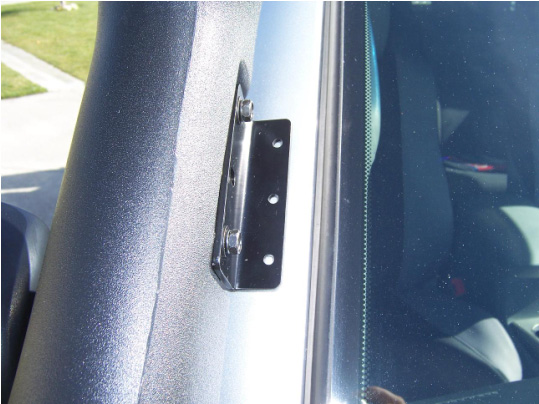
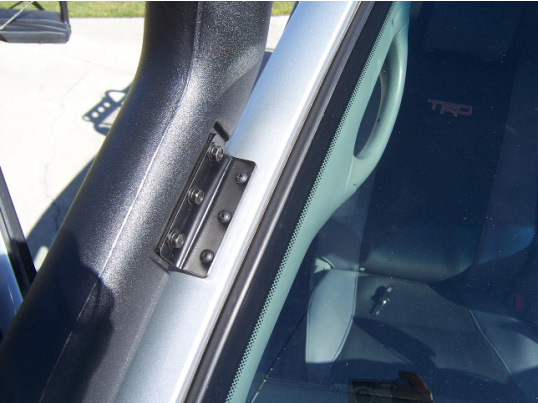
STEP
8: Mount upper bracket to
snorkel body using supplied 10mm bolts. Using bracket as a
template, carefully mark 3 screw locations on A-pillar with black
marker. Punch, drill pilot holes
and finally drill these out to 8mm. De-burr and paint. Allow
sufficient drying time. Insert plastic body
inserts. Install all 3 10mm bolts
and all 3 screws at A-pillar. DO NOT
OVERTIGHTEN!
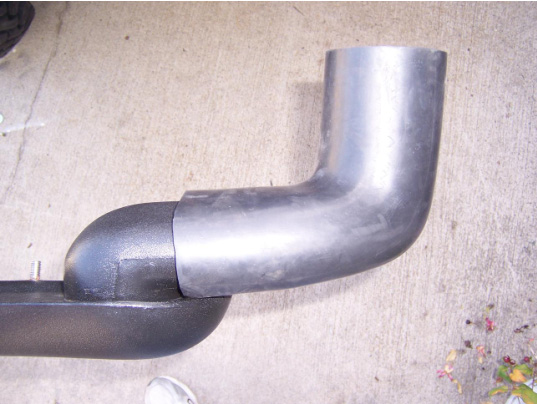
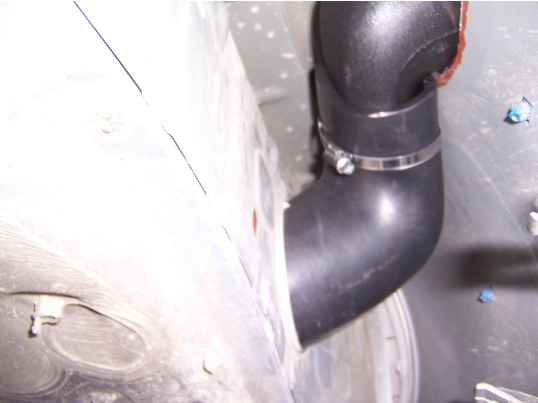
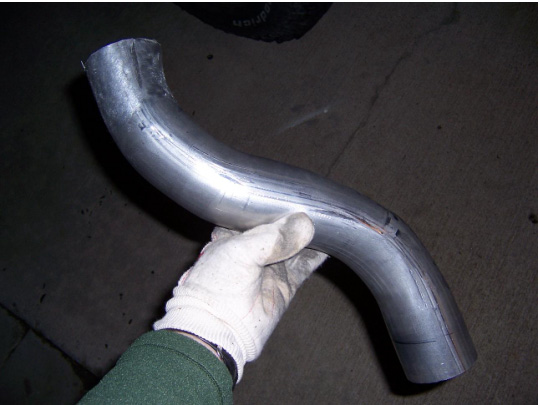
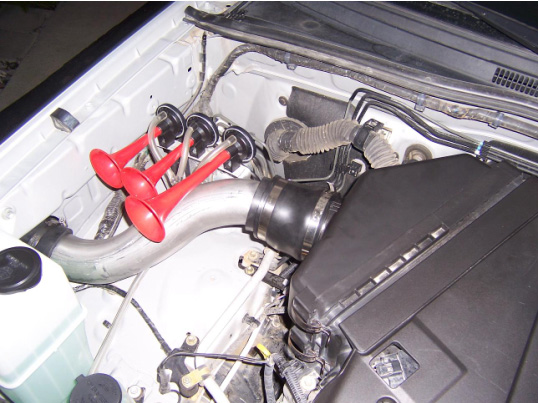
STEP
9: Measure the distance from
the rubber snout to the opening on the air filter assembly. Using a tube bender,
carefully bend the 3 inch pipe (Intake Connector) and cut to desired
length as
shown below. DO NOT cut the pipe too short, it must insert fully at
both ends!
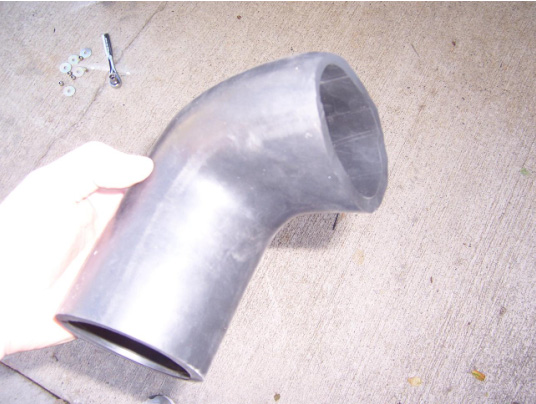
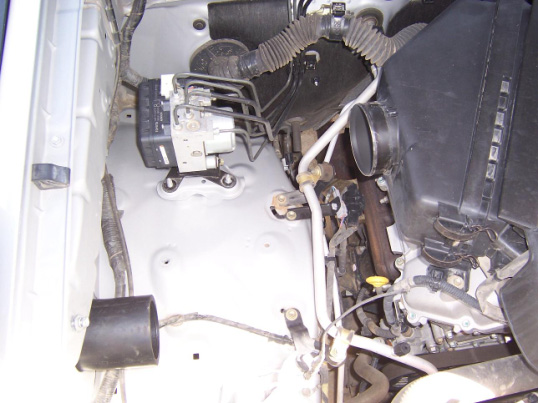
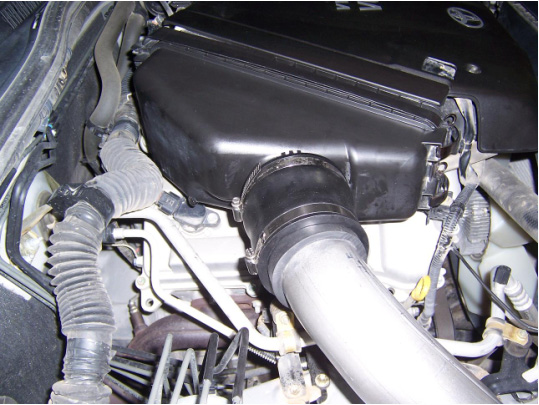
STEP
10: Remove the air cleaner
housing and inspect. There are 2 small holes, waterproof these holes by
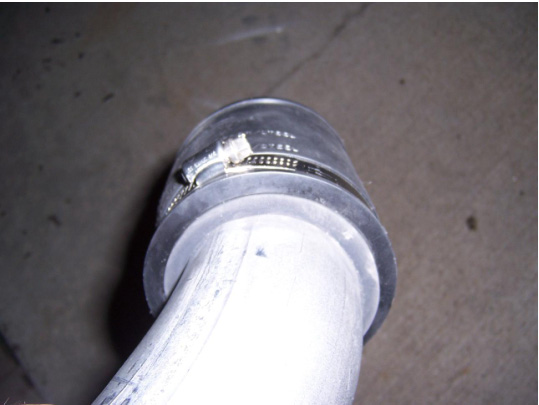
applying the black silicone sealant (RTV). Replace the housing. Using the 2 inch piece left
over from the air entry hose (Step 6), slide this over the end of the
Intake
Connector and then apply the 3x3 heavy duty rubber plumbing connector
over this
as shown. Using the bare metal and of
the Intake Connector, lubricate with silicone spray and insert it into
the
rubber snout at the fender. Rotate the Intake Connector
to the desired angle and, lubricating with silicone spray, insert the
rubber
connection at the air cleaner housing. Ensure that angles are good
for airflow and then install and tighten the remaining hose clamps
(this
assembly requires 4 total including the one hidden inside the fender). NOTE:
It is YOUR
responsibility to ensure a watertight seal at the 4 clamps – these are
the ONLY
possible source of leaks so if done right you have no worries!
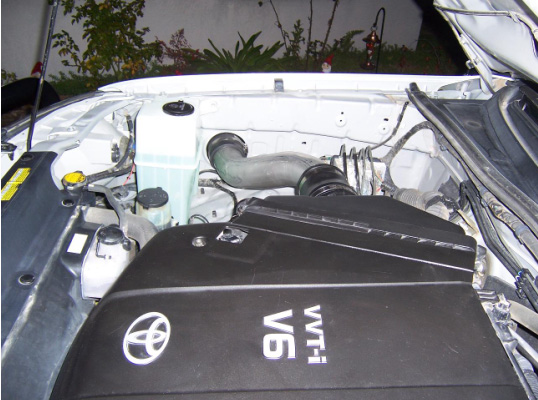
STEP
11: Position the air inlet
sleeve (Item No.17, looks like a large washer) onto the snorkel body
and secure
into position using black silicone (RTV).
Lastly, install the air ram assembly and
fasten with the black hose clamp provided.
Buy
Yours Here: SS135MOD Thanks to Dave for his EXCELLENT install guide, and more so for being brave enough to attempt the install. We had originally offered a general invite for someone to bring their Tacoma to us for the install with the hopes of installing it and making an instruction manual as such. With Dave's location it just wouldn't work out that way, he offered to write the guide for us! Needless to say our expectations were exceeded. *See
something missing,
wrong, or incomplete? Please let us know!
|
|


Drive Train I Suspension I Performance I Exterior Parts I Interior Parts I Accessories I Advance Adapters I Toyota OEM Parts
Used Parts I Custom Fabrication I Line Card I Land Use I Specials
Home I Customer Comments I About Us I Contact Us / Order I Photo Gallery
© 2003 - 2011 Cruiser Outfitters I Website Built by College Internet Solutions & Maintained by Cruiser Outfitters